
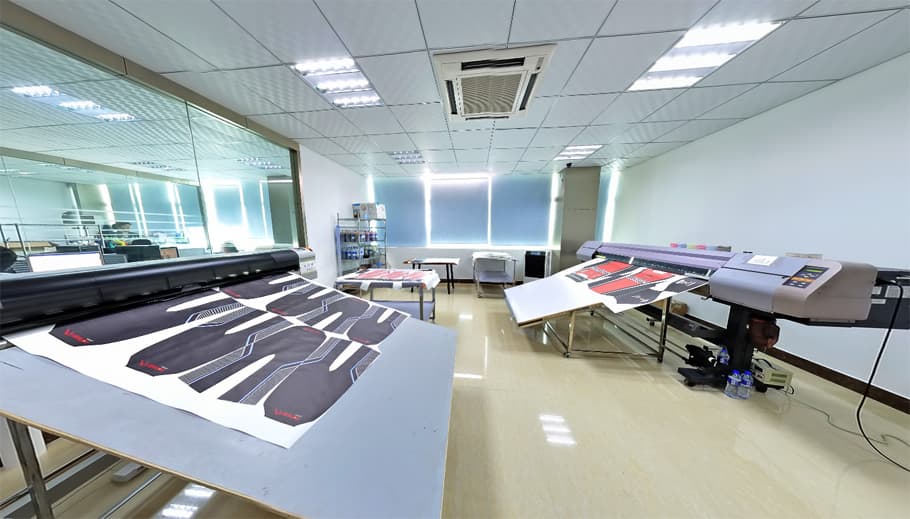
Start with the project route
Is this a wholesale branding decision or a custom development decision?
For brands, a logo decision can begin in two different places. A wholesale or light-customization project starts from an existing activewear product direction, then reviews how the garment can carry the buyer's logo, labels, and presentation details. This is a B2B brand program, not an offer of single-piece retail stock or dropshipping. The selected style, colour, material, logo route, labels, packaging, quantity, and delivery requirements all remain subject to project review.
A factory custom project starts when the logo cannot be separated from a new garment decision: perhaps the buyer needs a different fabric, fit, panel layout, colour route, construction, support direction, or integrated graphic. In that case, the mark needs to be planned alongside the garment rather than added at the end. A wholesale buyer can begin with the private-label activewear service, while a product that must be redesigned should move into a factory-development discussion before the buyer asks for a logo-only quotation.
That distinction matters because a logo is not merely a final decoration. On stretch activewear, it can influence where a panel remains workable, which fabric surface is appropriate, how a product is sampled, and what QC team members need to compare against the approved reference. Starting with the garment prevents a visually attractive digital mockup from becoming an unclear production instruction.
Compare the options
Which activewear logo application routes should a buyer compare?
The names of logo methods can be misleading when they are treated as universal answers. A method describes how a mark is made or attached; it does not prove that the method suits every legging, bra, training top, outer layer, or fabric surface. Use this comparison to prepare a discussion, then ask for the relevant options to be reviewed on the intended product material and construction.
| Application route | What the buyer is considering | What needs sample review |
|---|---|---|
| Heat-transfer or film mark | A separately prepared graphic applied to the garment surface. | Artwork detail, panel texture, stretch direction, placement, edge feel, colour, and the agreed sample. |
| Printed graphic | A graphic route reviewed as part of the fabric and production plan. | Artwork scale, colour handling, print area, fabric surface, adjacent seams, and how the graphic fits the overall material route. |
| Silicone or raised mark | A tactile, dimensional branding detail used where the product direction supports it. | Texture, logo thickness, small-detail legibility, garment movement, placement, and how the mark feels against the intended use. |
| Embroidery | Thread-based branding that can create a stitched visual detail. | Stability of the panel, logo density, backing, proximity to stretch zones, garment bulk, and comfort at the chosen location. |
| Woven badge or label detail | A separate woven component attached to a garment or selected trim area. | Attachment method, edge finish, location, garment stretch, care considerations, and whether the detail suits the product's construction. |
| Integrated all-over graphic | A colour and artwork direction planned before fabric or panels are prepared. | Artwork repeat or placement, colourway, pattern pieces, seam alignment, grading, and the product-development route needed to review it. |
The table is deliberately not a ranking. A small chest mark, a raised waistband detail, an embroidered outer-layer logo, and an integrated print on a panel can each create very different decisions. The buyer's job is to make the desired brand outcome explicit; the factory's job is to discuss what the selected product, material, construction, and order plan can support. The sample is where those two views become a tangible approval decision.
If artwork includes fine lines, small lettering, gradients, multiple colours, an outline, or a large field of colour, say so early. These features do not automatically rule out a method, but they can change the practical options. The same applies when a buyer needs one logo treatment to work across several fabric types. It may be more useful to document a shared brand rule with product-specific exceptions than force the same execution onto every garment.
Material before method
How does stretch fabric change the logo decision?
Stretch is not one fixed property. A buyer may be considering a fabric that moves mainly across the body, around the body, in several directions, or differently after it is cut into a curved panel. Surface texture also changes the conversation: a smooth knit, brushed surface, rib, mesh, textured compression fabric, and laminated-looking finish do not give a logo the same base. Before a method is chosen, share the intended fabric direction and the part of the garment where the mark will sit.
The logo must also be reviewed in use, not simply laid flat on a table. A front logo may cross a bust curve; a leg logo can stretch around the thigh; a back-neck mark may sit close to seam tape; and a waistband detail can be affected by recovery and the way the wearer pulls on the garment. A factory can only assess these product-specific questions once the fabric, pattern, and placement are sufficiently clear. The fabric and trim review page is a useful next step when the material direction itself is still open.
Placement is a construction instruction
What should be checked at each activewear logo placement?
“Left chest” or “on the leg” is rarely a complete instruction for an activewear logo. The factory needs a stable way to find the location after pattern pieces are cut and the garment is assembled. It also needs to know whether the logo must align with a seam, avoid a pocket, follow a panel angle, or remain visually balanced across a size range. A placement drawing should convert brand intent into a repeatable garment reference.
| Placement area | Buyer question | Reference to document |
|---|---|---|
| Chest or front body | Does the logo cross a seam, zip, curve, pocket, or high-stretch zone when worn? | Artwork scale and exact position from stable garment reference points. |
| Back neck or upper back | Will the mark sit near a neck label, mesh, seam tape, or an area affected by movement? | Distance from neckline and centre-back reference, plus the selected size by garment size. |
| Waistband or leg | Does the garment stretch strongly across or around the logo during wear and fit review? | Placement from the waistband or side seam, logo orientation, and intended size range. |
| Sleeve or side panel | Is there enough flat, stable space once the sleeve or panel is constructed? | Artwork direction, seam clearance, panel size, and whether left and right placement differ. |
| Inside or trim area | Could the detail affect comfort, label placement, construction sequence, or care information? | Attachment method, edge treatment, and the wearer-facing side of the component. |
The most useful references use a flat garment image or technical drawing, then add dimensions from recognisable points such as the centre front, centre back, neckline, side seam, waistband edge, or sleeve seam. Show the logo's width and height, orientation, colour direction, and whether it needs to shift by size. If the position is still being explored, state that clearly. A provisional placement can be tested in sampling without being mistaken for a final bulk instruction.
On a set with a bra and leggings, do not assume the brand mark must have identical scale or placement on both pieces. A buyer may prefer a shared visual hierarchy, while allowing the garment anatomy to determine where each logo sits. Recording that reason in the brief makes later review more useful than simply comparing two marks by eye.
One brand system, product-specific decisions
How should an activewear logo application change across a coordinated set?
A coordinated set should look intentional without forcing one identical logo instruction onto every garment. A bra, legging, fitted top, jacket, and training short use different panels and move differently on the body. The buyer can keep the same artwork family, colour logic, and visual hierarchy while changing scale, orientation, position, or application route where the product requires it. Record the shared brand rule first, then list each style-specific exception.
Start by naming the primary mark and any secondary mark. The primary mark may need the clearest, most visible placement, while a smaller symbol or wordmark can support the system on another panel. Then decide whether the marks must use the same method across the collection. Consistency may come from colour, proportion, or placement logic rather than from using one technical route on every fabric and construction.
Colourways also need their own record. A light garment, dark garment, print, rib, mesh panel, or heathered surface can change contrast and the way a logo edge is perceived. Do not ask a production team to infer a reversed colour, tonal treatment, or alternative mark from a mood board. State the approved artwork and colour direction for every garment-colour combination that will be ordered, and identify any combination still waiting for sample review.
Finally, review the set on a person or suitable fit reference when placement depends on body position. A logo that looks centred on a flat pattern can appear different once the garment stretches over a curve or sits beside another product in the set. Written notes should explain the intended visual relationship so later size and colour reviews have a decision standard rather than a vague request for consistency.
From artwork to an approval record
What should a logo sample prove before bulk production?
A physical logo sample is not a formality. It lets the buyer review the appearance of the artwork on the actual fabric and product, rather than on a generic swatch or screen. The review should cover the right questions for the project: does the intended detail remain clear at the chosen scale, does the placement look balanced on the finished garment, does the location interact with seams or movement as expected, and does the selected method fit the desired handfeel and brand presentation?
The written approval matters as much as the sample. Keep the current artwork version, brand colour references where available, method name, dimensions, location measurements, garment style, fabric direction, and buyer comments together. Photographing or retaining an approved reference can also make the later production conversation clearer. The aim is not to create an unnecessarily complex file; it is to make sure a production team and QC team are working from the same approved version.
- Artwork file version, requested colours, and any details that cannot change.
- Garment style, fabric direction, colourway, and intended logo location.
- Logo dimensions and measurement points from recognisable seams or edges.
- Application route being reviewed and any alternative kept open for comparison.
- Sample photos and buyer comments on appearance, feel, placement, and construction interaction.
- The actual sample size and whether the placement or scale changes across the size range.
- The intended wearer or fit reference and the movement or stretch condition used during review.
- Every garment-colour combination represented by the sample and any variant not yet reviewed.
- Primary and secondary logo rules across bras, leggings, tops, shorts, and outer layers.
- A flat placement drawing with dimensions from stable seams, edges, or centre lines.
- Any seam, zip, pocket, mesh, rib, lining, or panel feature that the mark must avoid or align with.
- Labels, hangtags, packing artwork, and barcode details when they belong to the same branded release.
- The current product, artwork, placement, and packing files stored together as the release reference.
- Replaced files archived outside the current production folder to prevent version confusion.
- Open decisions, responsible owner, and the point at which each item must be confirmed before bulk preparation.
This record is especially helpful when the collection has several colourways, fabric bases, or file versions in the buyer's own process. It separates what has been approved from what still needs a material or placement decision. For the wider sequence from sample comments to production planning, read the activewear sample-to-bulk manufacturing timeline.
Protect the approval boundary
Which logo approval mistakes create avoidable production confusion?
Most logo confusion begins when an approval is broader than the evidence behind it. The buyer may approve a digital artwork file without naming the garment, approve one physical sample without identifying the represented variants, or move a logo after other production and packing records have already been prepared. A useful approval states its boundary: which product, fabric, colour, size, method, artwork version, dimensions, and placement it covers.
Approving artwork without the garment reference
A correct logo file can still produce an unclear instruction when the style, fabric, colourway, panel, dimensions, and placement reference are missing. Keep the artwork and garment decision together.
Treating one sample as approval for every variant
A logo reviewed on one colour, fabric, style, or size does not automatically answer every other combination. Identify which variants are represented and which need a separate review.
Changing placement after other files are released
Moving a logo may affect seams, panels, labels, construction sequence, packing artwork, product photography, or QC references. Reopen the linked records instead of updating one image in isolation.
When a late change is necessary, describe it as a requested revision until the affected team has reviewed it. Identify whether the change reopens artwork preparation, material compatibility, placement, sample evidence, label or packing files, production coordination, or QC references. This language is more precise than calling every new email “final,” and it lets the buyer and factory agree on what must be checked again.
A buyer should also keep appearance approval separate from assumptions about performance. Looking correct on a sample does not establish a universal result for every material, use, wash condition, or order. The relevant product and sample route should define what evidence is being reviewed. If the project needs a particular testing or receiving requirement, state it in the brief and ask how it will be handled instead of implying an unverified standard.
Avoid a late-stage logo surprise
When should logo application be confirmed in the manufacturing workflow?
The best point to confirm a logo is before the decision becomes difficult to separate from material, cutting, sewing, or packing. For an existing product direction, that may mean defining the logo approach while the buyer is choosing a catalogue reference and private-label components. For a custom garment, it means discussing the logo once the fabric and panel plan are sufficiently real to test, not waiting until every product decision is closed.
A useful workflow makes the dependencies visible: product direction and artwork first; material and placement review next; sample comparison and written buyer comments after that; then a confirmed production reference for the agreed scope. QC can check against that reference during the appropriate stages, along with the other approved garment, label, packing, and carton details. The activewear manufacturing workflow explains why a documented reference is more useful than relying on a short email description at the end of a project.
This sequence does not require a buyer to have every answer at the first conversation. It does require the buyer to identify what is confirmed, what is a preference, and what needs a factory recommendation. That makes it possible to compare options without allowing a preliminary logo decision to be treated as a final instruction.
Connect the mark to the branded order
How do labels, packaging, quantities, and colourways affect the logo decision?
Logo application belongs to a branded order, not an isolated artwork task. The main label, size mark, care information, hangtag, sticker, individual packing, and carton information may use the same brand files or colour references. A late artwork change can therefore create mismatched versions across the garment and packaging. Keep the current logo file, label copy, packaging artwork, product code, colourway, and quantity matrix connected in the release record.
Quantity affects the discussion because the buyer may need different artwork, colours, or placements across styles and colourways. Share quantity by style, colour, and size rather than one collection total. This helps the factory review how many distinct logo combinations exist and which ones are represented in sampling. It also prevents a small alternate colourway from being hidden inside a larger order assumption.
Packaging can also change what the buyer needs to approve. A folded garment may hide or press against a raised mark; a product label or barcode may need to identify the correct artwork variant; product photography and online listings may depend on the approved logo position. These points do not dictate one universal packing route, but they should be visible before branded files are released for the order.
For a repeat order, begin with the approved product and branding record, then list every change. Do not rely on the phrase “same as before” when the current fabric, garment colour, artwork, label, packing, or destination requirement may differ. Version control makes a repeat easier to review without pretending that availability, quantities, quotation, or timing stay fixed from one order to the next.
Choose a relevant starting point
Which products can anchor an activewear logo application discussion?
A product reference makes it easier to discuss the panel, fabric behaviour, and location that a generic logo file cannot show. Use a catalogue direction for a wholesale branding conversation, or move into custom development when the product itself needs to be redesigned around the brand.
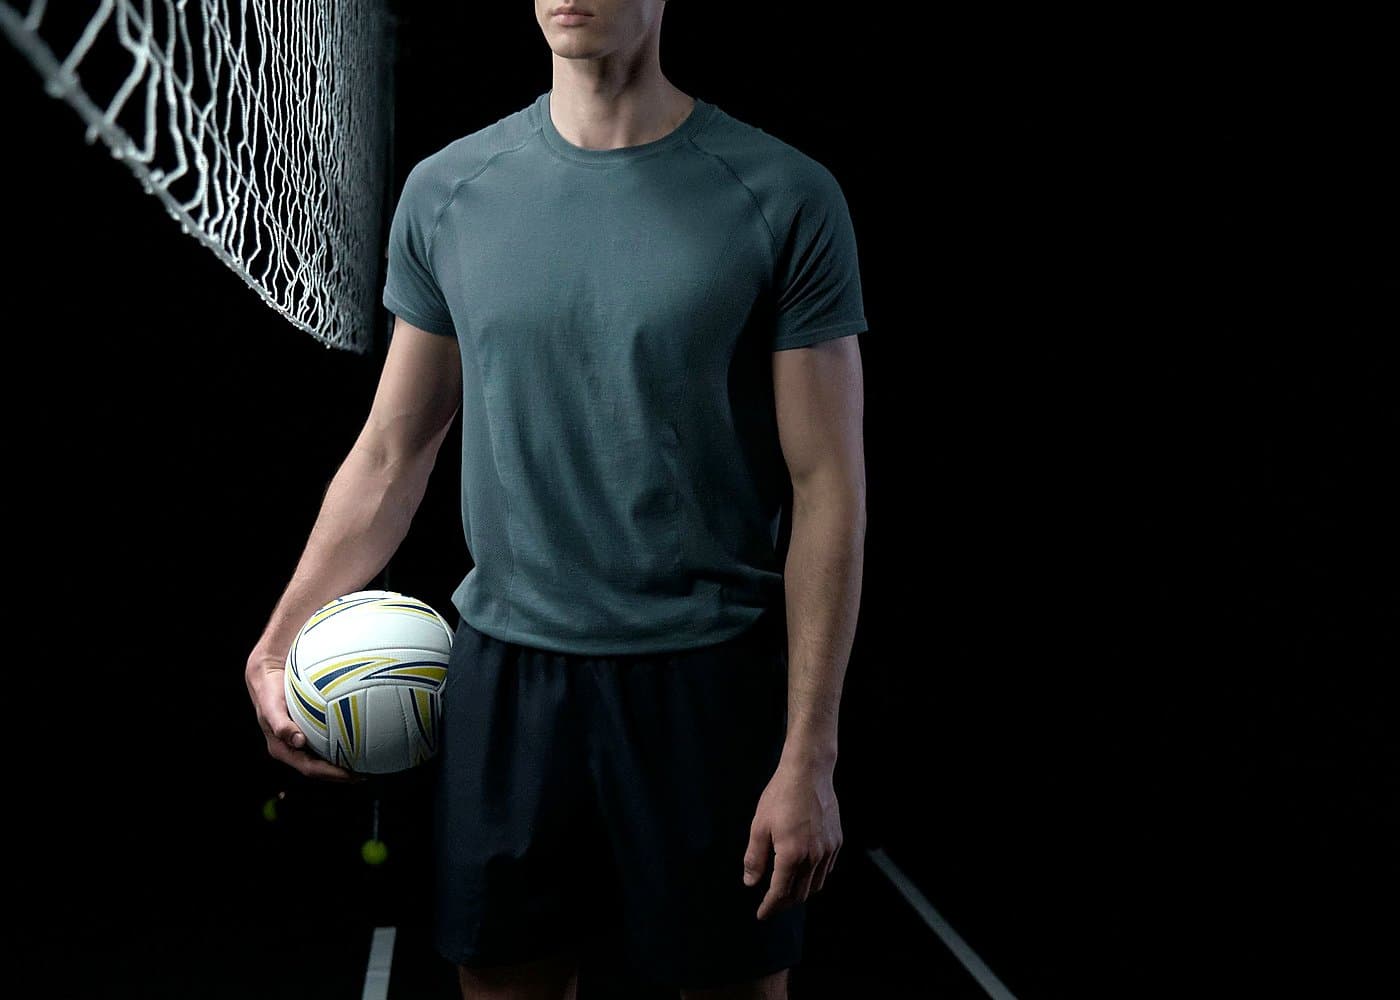
Wholesale / light customization
Activewear Performance Collection
Use an existing performance-product direction to discuss logo placement, labels, and brand presentation before deeper garment changes are requested.
Review this product directionWholesale / light customization
Zip-Neck Sculpt Set
A reference set for reviewing chest, sleeve, back, or leg placement around seams, zips, and high-movement areas.
Review this product directionWholesale / light customization
Light Support Bra Program
A product reference for comparing front, back, strap, band, and side-panel logo decisions on a close-fitting stretch garment.
Review this product directionA practical factory conversation
How inPACE Sports can review a stretch activewear logo brief
inPACE Sports supports B2B activewear projects for brands, online stores, wholesalers, studios, clubs, teams, and startup designers. With Ningbo Yinshan Garments Factory in Ningbo, Zhejiang, China, the team can review an existing product direction for wholesale branding or discuss a custom development route when the garment requires a new fabric, fit, panel layout, construction, or integrated graphic direction.
To start a useful logo application discussion, send the product reference or tech pack, intended activity and wearer, fabric direction if known, logo artwork, proposed placement and size, colourway, label and packaging needs where relevant, estimated quantity, destination market, sample requirement, and target arrival window. If any of these remain open, mark them as questions. The team can then help separate a catalogue branding route from a custom activewear development discussion and identify what needs sample approval.
Share a product and logo brief for review
Include the selected product, artwork version, intended placement, fabric and colour direction, labels, packing, style-colour-size quantity plan, destination market, and the decisions that still need sample review.
Buyer questions
FAQ: Logo methods for stretch activewear
Which logo method is best for stretch activewear?+
There is no single best logo method for stretch activewear. The suitable route depends on the actual fabric, stretch direction, surface texture, logo artwork, placement, desired handfeel, colour direction, and product use. Compare relevant options on the intended garment material, then approve a physical sample and documented placement reference before bulk production is discussed.
Can a heat-transfer logo be used on leggings or sports bras?+
A heat-transfer logo can be reviewed for leggings or sports bras, but it should not be selected from a digital mockup alone. The fabric, stretch zones, panel shape, logo size, position, artwork detail, and feel against the wearer all need review on the intended product. A sample helps the buyer and factory confirm whether the proposed route suits the garment plan.
Is embroidery suitable for high-stretch activewear?+
Embroidery may be suitable for selected activewear locations, but it needs product-specific review. Thread density, backing, panel stability, logo size, proximity to stretch zones, garment bulk, and wearer comfort can all affect the decision. An embroidery sample on the actual fabric and construction is more useful than choosing the method from artwork alone.
What should a logo placement file show?+
A useful logo placement file shows the approved artwork, colour direction, logo dimensions, exact location from recognisable garment reference points, orientation, and any differences by style or size. It should also identify whether the artwork applies before or after a construction step where relevant. Open details should be marked for sample review rather than assumed.
Does logo application change an activewear MOQ or sample plan?+
Logo application can affect the MOQ discussion and sample plan because the chosen route may involve artwork preparation, colours, fabric compatibility, placement, labels, packaging, and quantities. The impact depends on the complete project rather than a fixed rule. A buyer should share the garment direction and branding scope early so the factory can review the appropriate route.
Should wholesale activewear and fully custom activewear use the same logo process?+
Both routes need artwork, placement, and sample approval, but their starting points differ. A wholesale or light-customization project begins with an existing product direction and adds branding after the relevant details are reviewed. A fully custom project can plan the fabric, panels, construction, colour, and logo route together. The correct process depends on how much the garment itself needs to change.