
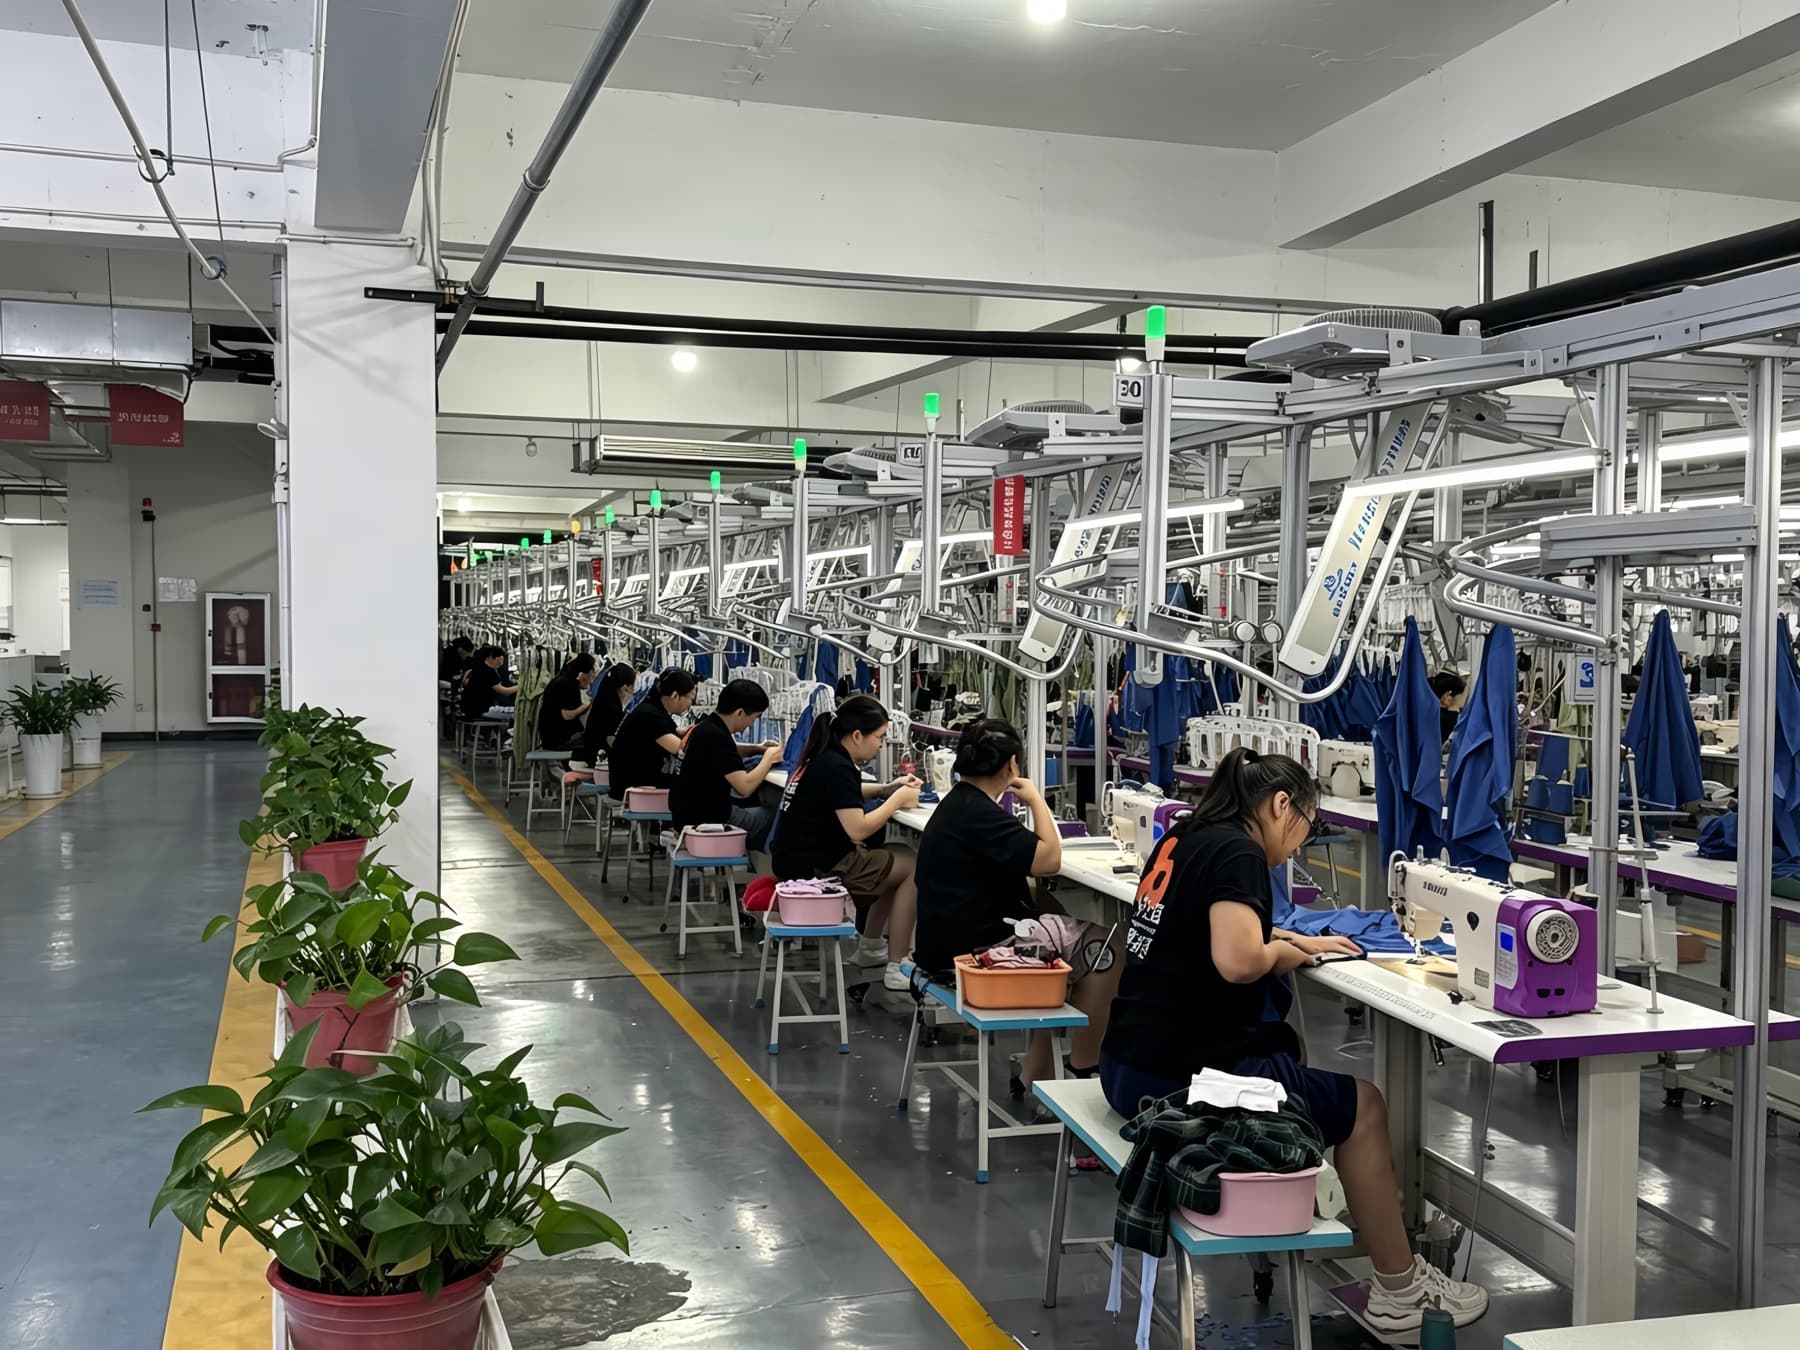
Start with behavior
Why is activewear seam construction a product-behavior decision rather than a cosmetic finish?
A seam sits where materials, pattern shape, movement, and assembly meet. It can help control a curved panel, close an opening, attach an elastic, finish an edge, form a pocket, or connect components that stretch in different directions. The outside line may be visually clean while the inside allowance, thread path, or stacked junction creates bulk. Conversely, a construction that looks unfamiliar on a table may be an appropriate solution for the fabric and function after sample review.
Activewear exposes that relationship because the wearer bends, reaches, squats, runs, lifts, or cycles while the garment stays close to the body. Panels extend and recover; edges pass over joints; waistbands and underbust areas carry tension; pockets receive objects; and multiple operations can converge at a gusset or strap. A buyer therefore cannot approve construction from a flat outside photograph alone. The same sample needs a location-specific review of appearance, contact, movement, and workmanship.
Treat construction as a controlled decision rather than a vocabulary test. The buyer defines the product intent, appearance, contact priority, movement, and risk. The factory reviews how the actual material, pattern, machinery, thread, seam, stitch, and operation sequence can achieve that intent. The sample closes the decision only when everyone can identify which location was reviewed, which version was used, what was accepted, and what remains open.
Choose the route
When does seam construction require a factory-custom development route?
A wholesale or light-customization route normally starts with an existing product direction whose principal pattern, materials, and construction are already defined. Adding an approved logo, label, or packing direction does not automatically create a new seam system. A factory-custom route is more appropriate when the buyer introduces a new pattern, panel map, fabric combination, stretch direction, pocket, gusset, waistband, strap, opening, elastic treatment, or inside/outside appearance that must be developed and sampled.
Use the activewear performance collection to identify relevant garment directions, but do not assume one product's construction transfers unchanged to another. Different materials, lengths, fits, panel orientations, and components can change the practical route. Give the factory the intended activity, wearer relationship, product drawing, material direction, and critical locations before asking for a seam recommendation.
This distinction also improves quotation. “Flatlock all seams” is not a complete scope because it does not say what the buyer means by the term, which joins are included, what appearance is required on each side, or whether the material and equipment route are feasible. A seam map with product-specific priorities lets the supplier propose a sample sequence and identify where an operation sample can answer one risk before a full garment is made.
Use precise language
What is the difference between a seam, a stitch, and a visible finish?
A seam describes the relationship of material layers or edges that are joined. A stitch describes the way thread is formed to secure, cover, or finish that relationship. The visible finish is what the buyer sees or feels after allowances, edges, thread, tension, trimming, folding, and assembly are combined. These are connected decisions, but they are not interchangeable names.
This matters when a brief says “use flatlock.” The writer may mean a flat seam with butted or overlapped edges, a class of flatseam stitch formation, a decorative look that resembles one, or simply “make the inside less bulky.” Those directions can lead to different machines, thread paths, allowances, appearances, strength and elongation behavior, and costs. Show the intended inside and outside, mark the exact location, and state the functional reason.
Official technical references from Coats explain seam classifications separately from common stitch formations. Use those categories to improve communication, not to replace a product sample. The selected thread, stitch density, machine settings, material, seam type, operator route, and garment location all influence the result.
Decision table
What should an activewear seam-construction record assign and preserve?
The buyer supplies intent and product context. The factory reviews an executable construction route. Evidence closes one named decision at a time. The table below prevents an outside appearance approval from silently covering a different inside finish, material direction, intersection, or production version.
| Decision | Buyer supplies | Factory reviews | Release evidence |
|---|---|---|---|
| Seam map and location | A drawing, marked reference, or tech pack that names every critical join and identifies the outside and skin-contact sides. | Whether the proposed locations can be constructed consistently with the intended shape, material combination, and assembly order. | A current seam map linked to the approved sample version, with unresolved locations listed rather than assumed. |
| Material and stretch direction | The intended fabric for each panel, visible face, grain or stretch direction, lining relationship, and end-use movement. | How the actual materials behave together and whether the seam and stitch direction suit the panel orientation and sample route. | Identified material references plus a sample that uses the intended panel orientation and component combination. |
| Seam construction and allowance | Required silhouette, bulk priority, inside appearance, edge relationship, and any construction detail that must be preserved. | A feasible seam class, allowance, trimming, edge treatment, machine route, and assembly sequence for the chosen materials. | A section sample, operation sample, or garment sample that shows the actual join from both sides. |
| Stitch formation and thread path | The functional and visual intent, including whether a stitch line is exposed, decorative, load-bearing, or next to skin. | Suitable stitch formation, thread direction, stitch security, elongation needs, machine availability, and sample result. | A named sample version with the proposed stitch visible in relaxed and gently extended conditions. |
| Skin-contact surface | High-contact areas, pressure points, intended wearing layer, activity, and any sensitivity priority identified by the brand. | Seam bulk, edge exposure, thread presentation, starts and ends, labels, bindings, elastic attachment, and practical alternatives. | Inside-out photographs and a wearable sample reviewed at the named contact areas during relevant movement. |
| Movement and load zones | Expected movements, support intent, compression direction, openings, pocket use, and areas that receive repeated extension or load. | Panel direction, seam route, junctions, reinforcement need, recovery behavior, and whether another sample stage is required. | Movement observations tied to the exact sample, size, wearer context, and intended use rather than a generic pass note. |
| Edges, hems, elastic, and openings | Finished width, visual direction, stretch and recovery priority, inside exposure, and the relationship to elastic or binding. | Applicable fold, coverseam, binding, elastic-attachment, or other construction route on the selected material. | A representative edge or garment sample checked for appearance, movement, recovery, and attachment security. |
| Intersections and components | Pocket openings, gussets, panel junctions, strap joins, zipper ends, drawcord areas, and any point where multiple operations meet. | Stacked bulk, operation sequence, alignment, thread build-up, accessibility, stress direction, and finishing options. | Close-up review of every critical intersection on the current garment sample, not only a straight seam section. |
| Release and production record | The accepted sample, named exceptions, change authority, intended quality checkpoints, and any destination-specific requirement. | Whether the production package matches the approved fabric, pattern, seam map, stitch route, thread, components, and revisions. | One released construction record with sample identity, decisions, annotated details, open limits, and replacement history. |
Mobile note: scroll horizontally to compare all four columns. This is a buyer-decision framework, not a universal seam, tolerance, testing, safety, or compliance standard. Put formal requirements in the project brief and confirm them with the appropriate qualified parties.
Map location and direction
How do seam placement, panel shape, and stretch direction change the sample result?
Location determines what the seam must do. A side seam may mainly join long panels; an inner-leg seam can sit in repeated movement and contact; a waistband join participates in extension and recovery; an underbust seam may connect support, elastic, lining, and shaping; a pocket opening must handle access as well as appearance. The same construction name does not carry the same consequence at each point.
Panel shape and material direction add another layer. Curves can require control through assembly. Two materials may feed, extend, or recover differently. A seam that crosses the dominant stretch direction may behave differently from one that runs with it. A material's visible face and skin side can also determine which allowance or thread path is exposed. Record those orientations on the seam map and confirm that the sample uses them.
Review silhouette and motion together. Look for a seam that pulls a panel off line, creates unexpected gathering, rotates a leg, changes a neckline, opens a pocket, or concentrates bulk at an intersection. These observations do not prove one universal technical cause. They tell the development team where pattern, material, feeding, seam, stitch, allowance, or operation sequence may need further review.
Compare methods conditionally
How should buyers discuss overlock, flatseam, coverstitch, lockstitch, and chainstitch?
Start with function. Overedge or overlock formations are commonly considered when stretch materials need joining and/or edge control. Coverseam or coverstitch formations are commonly seen at knitted hems and in selected elastic, binding, or covering operations. Flatseam formations can create a flat, multi-thread result considered for selected stretch and next-to-skin applications. Lockstitch and chainstitch formations also have roles, depending on location, elongation, appearance, security, and material.
Those descriptions are useful categories, not a ranked list. “More stretch” is incomplete without the seam type, stitch formation, thread, density, material, direction, and expected movement. “Stronger” is incomplete without the load, failure mode, junction, and use. “Flatter” is incomplete without seeing the inside, outside, allowance, edge, and thread build-up on the actual garment.
Ask the factory to identify the proposed construction in plain language and show it on the intended material. If an exact machine route is important, record it. If the buyer only cares about function and appearance, record those priorities and let the factory propose a feasible route for sample review. This avoids locking a product to a misunderstood term while still preventing an unapproved substitution after release.
Review skin contact
What should buyers check at next-to-skin seams, elastic edges, and openings?
Comfort is location-specific and wearer-dependent, so “soft seams” is not a measurable factory instruction by itself. Mark the areas most likely to contact or press the body in the intended product: inner legs, underarms, shoulders, necklines, waistbands, underbust seams, armholes, straps, and any edge that moves across skin. State whether the garment is intended for direct skin contact or a layered wearing context.
Turn the garment inside out. Look at allowance bulk, exposed edges, thread build-up, starts and ends, backtacking or securing areas, labels, elastic joins, binding overlaps, and the points where operations cross. Then wear the sample in relevant movement and record exactly where it feels rough, presses, catches, or shifts. A comment such as “bulk felt at the inner waistband overlap during forward bend” is more actionable than “seam uncomfortable.”
Do not treat one wearer's impression as a universal guarantee, and do not hide it. Combine subjective wearer observations with visible construction evidence and any formal testing that the buyer has specified. The development question is whether the current sample meets the agreed product intent or needs a different edge, allowance, stitch, thread, operation position, or component arrangement.
Inspect the whole operation
Which intersections and workmanship details are easy to miss in a straight seam sample?
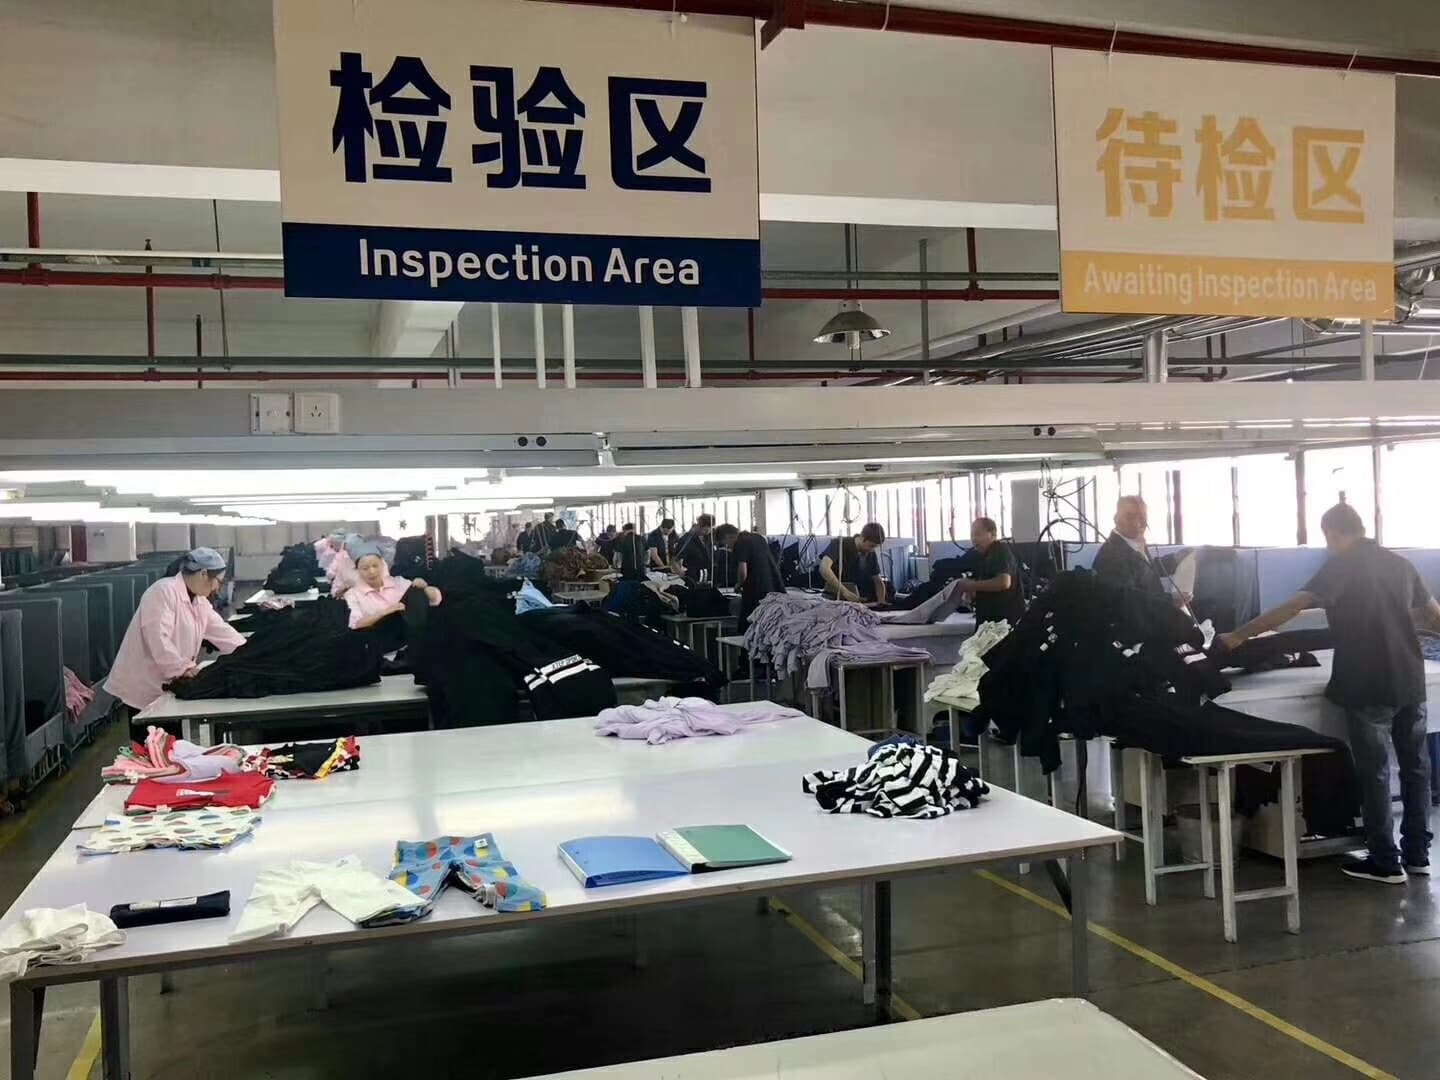
A straight section can confirm basic appearance and one material relationship. Garments fail visually or functionally at the places where that simple operation changes. Inspect pocket corners, gusset points, waistband joins, crotch intersections, underarm points, strap attachments, zipper ends, drawcord openings, binding overlaps, logo edges near seams, and any junction where several layers or thread paths accumulate.
Review both sides and compare repeated operations. Where relevant, look for alignment, puckering, twisting, uneven feeding, inconsistent width, untrimmed allowance, skipped stitches, loose loops, broken or insecure starts and ends, visible needle damage, exposed edges, or unexpected thread build-up. These are review observations, not a universal defect tolerance. The accepted standard and escalation route must be defined for the product and order.
Photographs should show context and detail. Capture one image that locates the seam on the garment, another of the outside, another of the inside, and a marked close-up of the issue. Name the sample and version in the comment. Without location and version, a perfect close-up can still send the production team to the wrong operation.
Move the sample
How should buyers inspect activewear seams while relaxed, extended, worn, and moving?
Begin on the table. Confirm the sample identity, material, orientation, seam map, and workmanship from outside and inside. Observe the relaxed line, panel alignment, edge presentation, hem or elastic width, pocket opening, and important junctions. Extend relevant areas gently in the intended direction and watch how the seam, stitch, thread, adjacent panel, and opening respond. This is a diagnostic observation, not a substitute for a specified performance test.
Then use a fit sample in the intended size and product context. Select movements that match the garment: a squat and lunge for leggings, arm raise and reach for a top, forward bend and rotation for a waistband or jacket, or another buyer-defined activity. Observe where a seam shifts, presses, twists, opens, exposes an edge, distorts a panel, or changes the silhouette. Ask the wearer to point to the exact location before removing the sample.
Record the conditions. Name the sample size, wearer context, movement, layer worn underneath, and whether the observation happened once or repeatedly. If wash, abrasion, stretch, strength, colorfastness, or another formal evaluation is required, define the method and qualified responsibility separately. The movement review helps the team find product questions; it does not create an unsupported test claim.
The adjacent sports bra and leggings bulk-approval guide covers the wider fit, support, measurement, branding, packing, and release decision. Keep that whole-garment review connected to this construction record without merging every product approval into one vague “sample approved” status.
Stage the evidence
When is an operation sample useful, and when is a full garment sample still required?
An operation or section sample can isolate one risk. It can compare two seam directions on the intended fabric, show the inside and outside of an elastic attachment, check thread appearance, or reveal the bulk of a panel junction before the complete garment is assembled. That focused evidence can make comments faster and prevent unrelated fit or styling questions from obscuring the construction decision.
A small sample cannot prove the relationship to the full pattern, wearer, movement, silhouette, pocket access, or adjacent operations. A section can lie flat while the same seam rotates on a leg. A neat elastic join can feel different when installed in a complete waistband. A gusset construction needs the full intersection and movement context. State which question the operation sample closes and which garment-level questions remain.
Use a simple evidence ladder: material and seam direction, operation or section sample where useful, complete development sample, revised fit or pre-production evidence as agreed, and one released production reference. The number and names of stages depend on the project. The discipline is to avoid approving more than the current evidence actually demonstrates.
Product references
Which activewear directions help buyers build a seam-construction brief?
Use these three references to map garment locations, not to assume fixed stock, fabric, seam, stitch, MOQ, price, lead time, or performance. A factory-custom review starts with the buyer's product, materials, movements, construction priorities, and sample evidence.
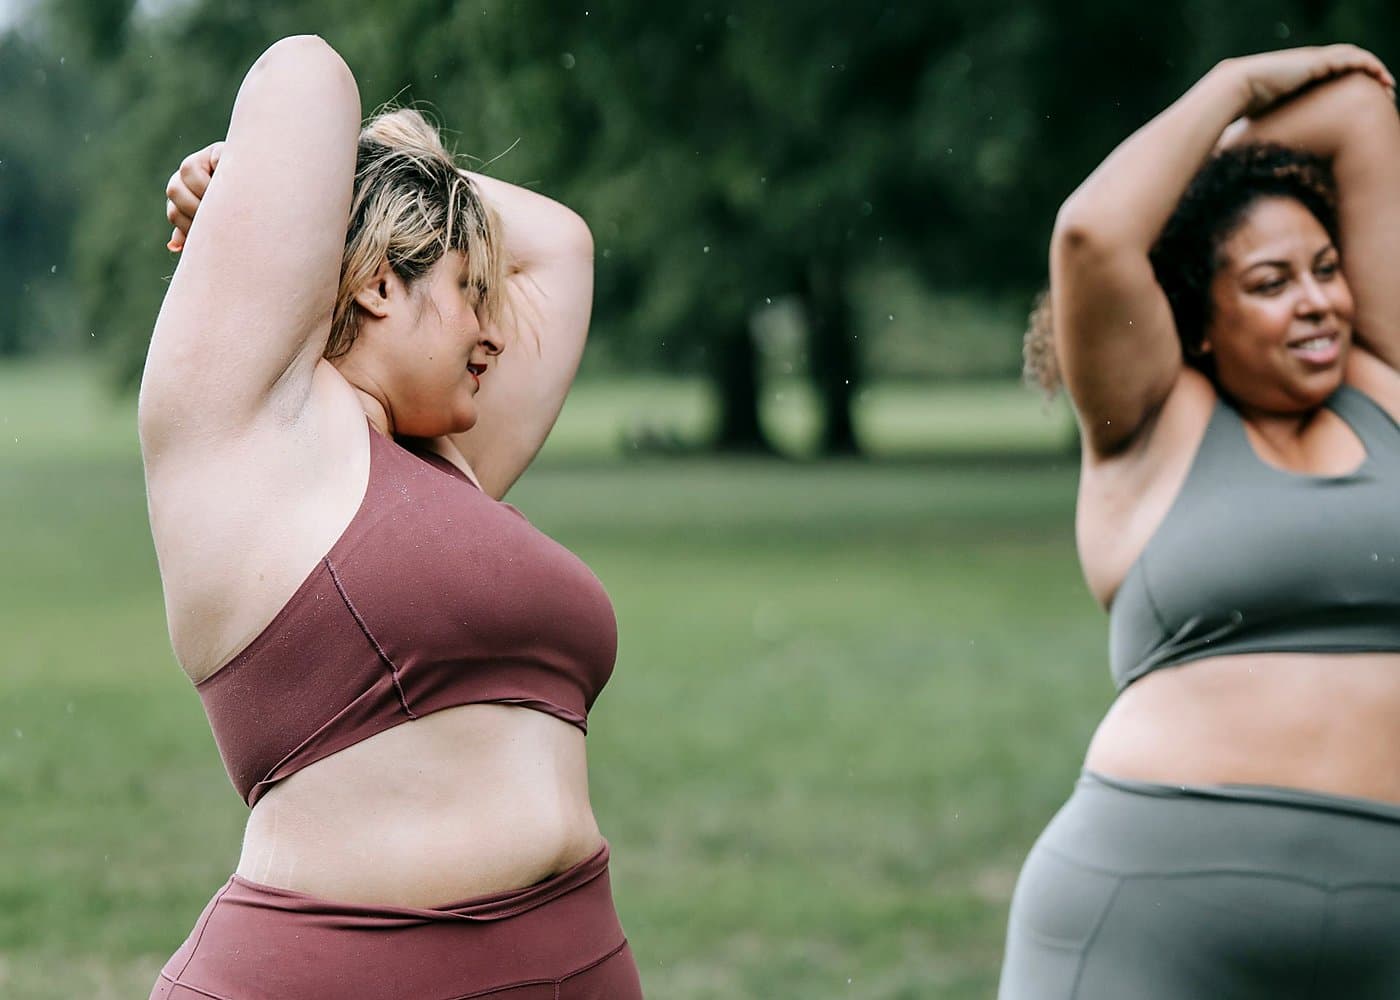
Panel and movement reference
Performance Training Set
Use a coordinated top-and-bottom direction to discuss panel joins, waistband and hem construction, skin-contact zones, and the way repeated operations should be reviewed across a set.
Review this development directionFitted stretch reference
Fitted Activewear Set
A close-fitting direction helps buyers mark the seam lines that move with the body, the junctions that can concentrate bulk, and the inside surfaces that need sample-level comfort review.
Review this development direction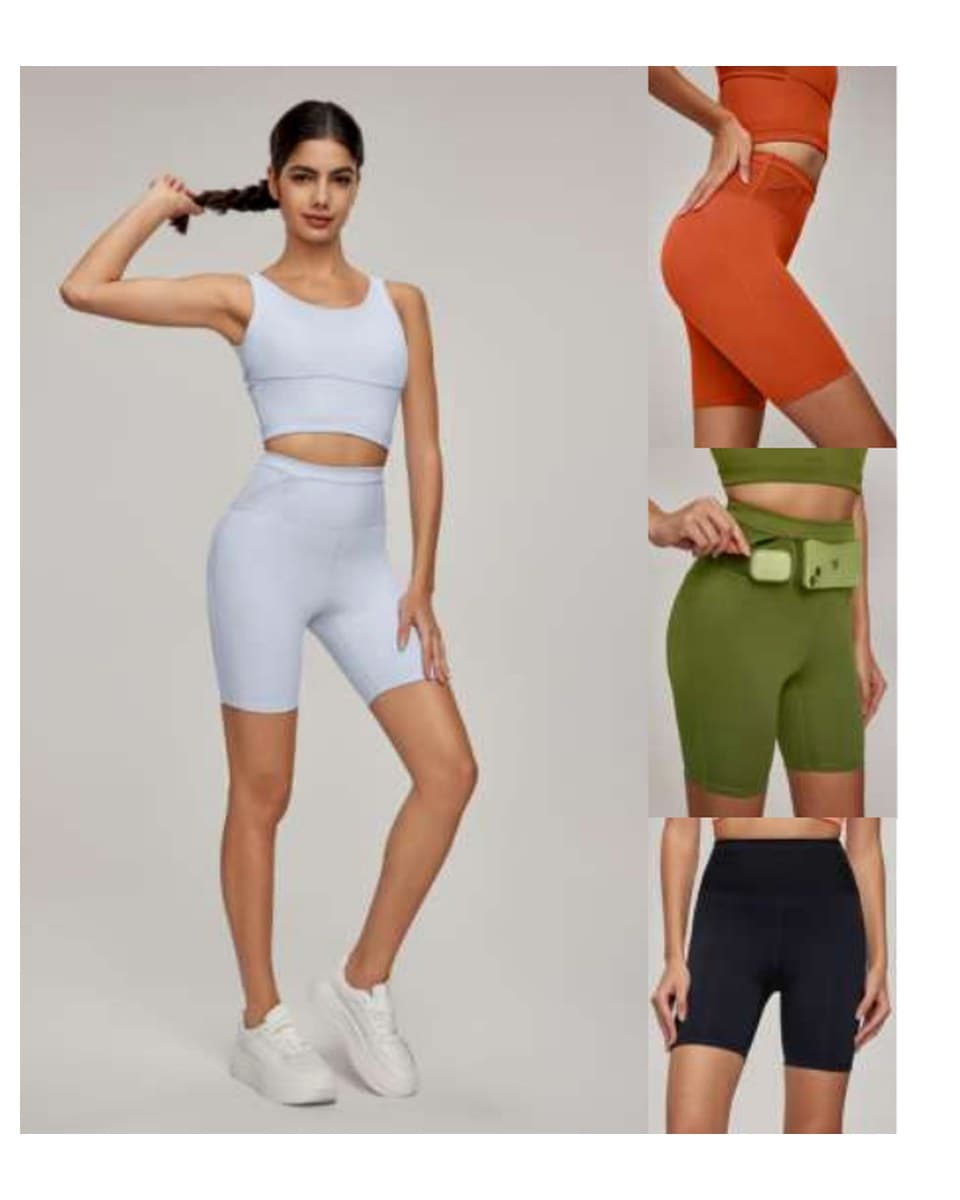
Development route
Custom Activewear Manufacturing
Choose the factory-custom path when the brief introduces a new pattern, material combination, seam map, stitch direction, component, or construction sequence that must be developed and approved.
Review this development directionRelease one construction version
How should approved seam construction connect to production and quality checking?
The released package should identify the garment and pattern revision, material and panel directions, seam map, construction details, stitch route, thread and visible color, allowances and finished widths where controlled, elastic or binding relationships, critical junctions, approved sample, annotated photographs, named exceptions, and current decision owners. Superseded files should remain in history but leave the active production pack.
The inPACE manufacturing capability provides context for product development, cutting, sewing, checking, and production preparation. For one project, turn the approved sample observations into location-specific checkpoints that production and QC can recognize. A photograph of the outside is not enough when the accepted feature is an inside overlap, thread path, allowance, or intersection.
Change control is essential. If the fabric, pattern, panel direction, seam allowance, stitch formation, thread, component, machinery, folder, or operation sequence changes, identify which approvals depend on it. The appropriate response may be a documented feasibility review, a new section sample, or another garment sample. Do not carry an old approval forward simply because the seam keeps the same informal name.
Quote the real scope
Which seam-construction decisions can affect quotation and timing?
Panel count and shape, material behavior, seam and stitch route, thread and component choice, machine and folder requirements, operation sequence, junction complexity, visible stitch precision, sample stages, formal tests, revision rounds, quantity, and changes after approval can affect commercial planning. The effect is project-specific; no one seam name creates a universal price or schedule.
Share the intended fabrics, threads, elastics, bindings, and trims with the construction brief. A proposal for one stable knit and simple straight joins cannot be compared directly with a multi-material garment containing curved panels, pockets, supportive elastics, bindings, exposed decorative stitching, and several layered intersections.
Ask the quotation to state assumptions and open decisions. It should distinguish product development from order production, identify included sample evidence, and explain which later changes require revised feasibility, cost, or timing review. This makes competing quotes more comparable and gives both parties a record when a requested construction direction is refined after the first sample.
Buyer checklist
Is your activewear seam-construction brief ready for factory review?
Use this checklist before requesting a construction sample. Clear locations, evidence, and owners make review faster without pretending that one method or acceptance rule applies to every activewear product.
Stop conditions
Which seam risks should stop sample approval or production release?
Does the brief request “flatlock” without defining the location, function, or two-sided appearance?
Stop and translate the word into a seam map, material relationship, contact priority, stretch need, and sample view. The buyer and factory may be describing different constructions.
Was the seam approved while standing still, without reviewing its intended movement or contact zone?
Stop and inspect the exact location inside and outside during relevant movement. Record the wearer observation and visible evidence separately.
Did material, pattern, thread, stitch, seam, or operation sequence change after approval?
Stop and identify dependent decisions. Review new evidence at the affected locations instead of attaching the old approval to a different construction version.
Supplier context
How can inPACE support an activewear seam-construction review?
inPACE Sports can review a B2B factory-custom brief using the buyer's product direction, pattern or tech pack, intended materials, seam map, movement and contact priorities, visual references, sample comments, and release requirements. Where factory context is relevant, Ningbo Yinshan Garments Factory in Ningbo, Zhejiang, China supports product development, material and component coordination, sampling, sewing, checking, and production preparation. Feasibility, machinery, materials, quantity, evidence, quotation, timing, tests, and acceptance requirements remain specific to the current project.
Factory-custom next step
Share an activewear sample-construction brief
Send the intended activity, garment reference or tech pack, materials and stretch direction, seam map, inside/outside appearance, high-contact and movement zones, critical intersections, sample version, observations, branding, size-color-quantity direction, destination, and open questions. Mark any formal test or acceptance requirement separately.
Send a construction brief